> ## Documentation Index
> Fetch the complete documentation index at: https://docs.runmaestro.ai/llms.txt
> Use this file to discover all available pages before exploring further.
# Remote Control
> Control Maestro from your phone via the built-in web server and Cloudflare tunnels.
Maestro includes a built-in web server for mobile remote control:
1. **Automatic Security** — Web server runs on a random port with an auto-generated security token (UUID) embedded in the URL
2. **QR Code Access** — Scan a QR code to connect instantly from your phone
3. **Live Sessions** — Sessions marked as "live" become accessible through the web interface (protected by the security token)
4. **Remote Tunneling** — Access Maestro from anywhere via Cloudflare tunnel (requires `cloudflared` CLI)
## Mobile Web Interface
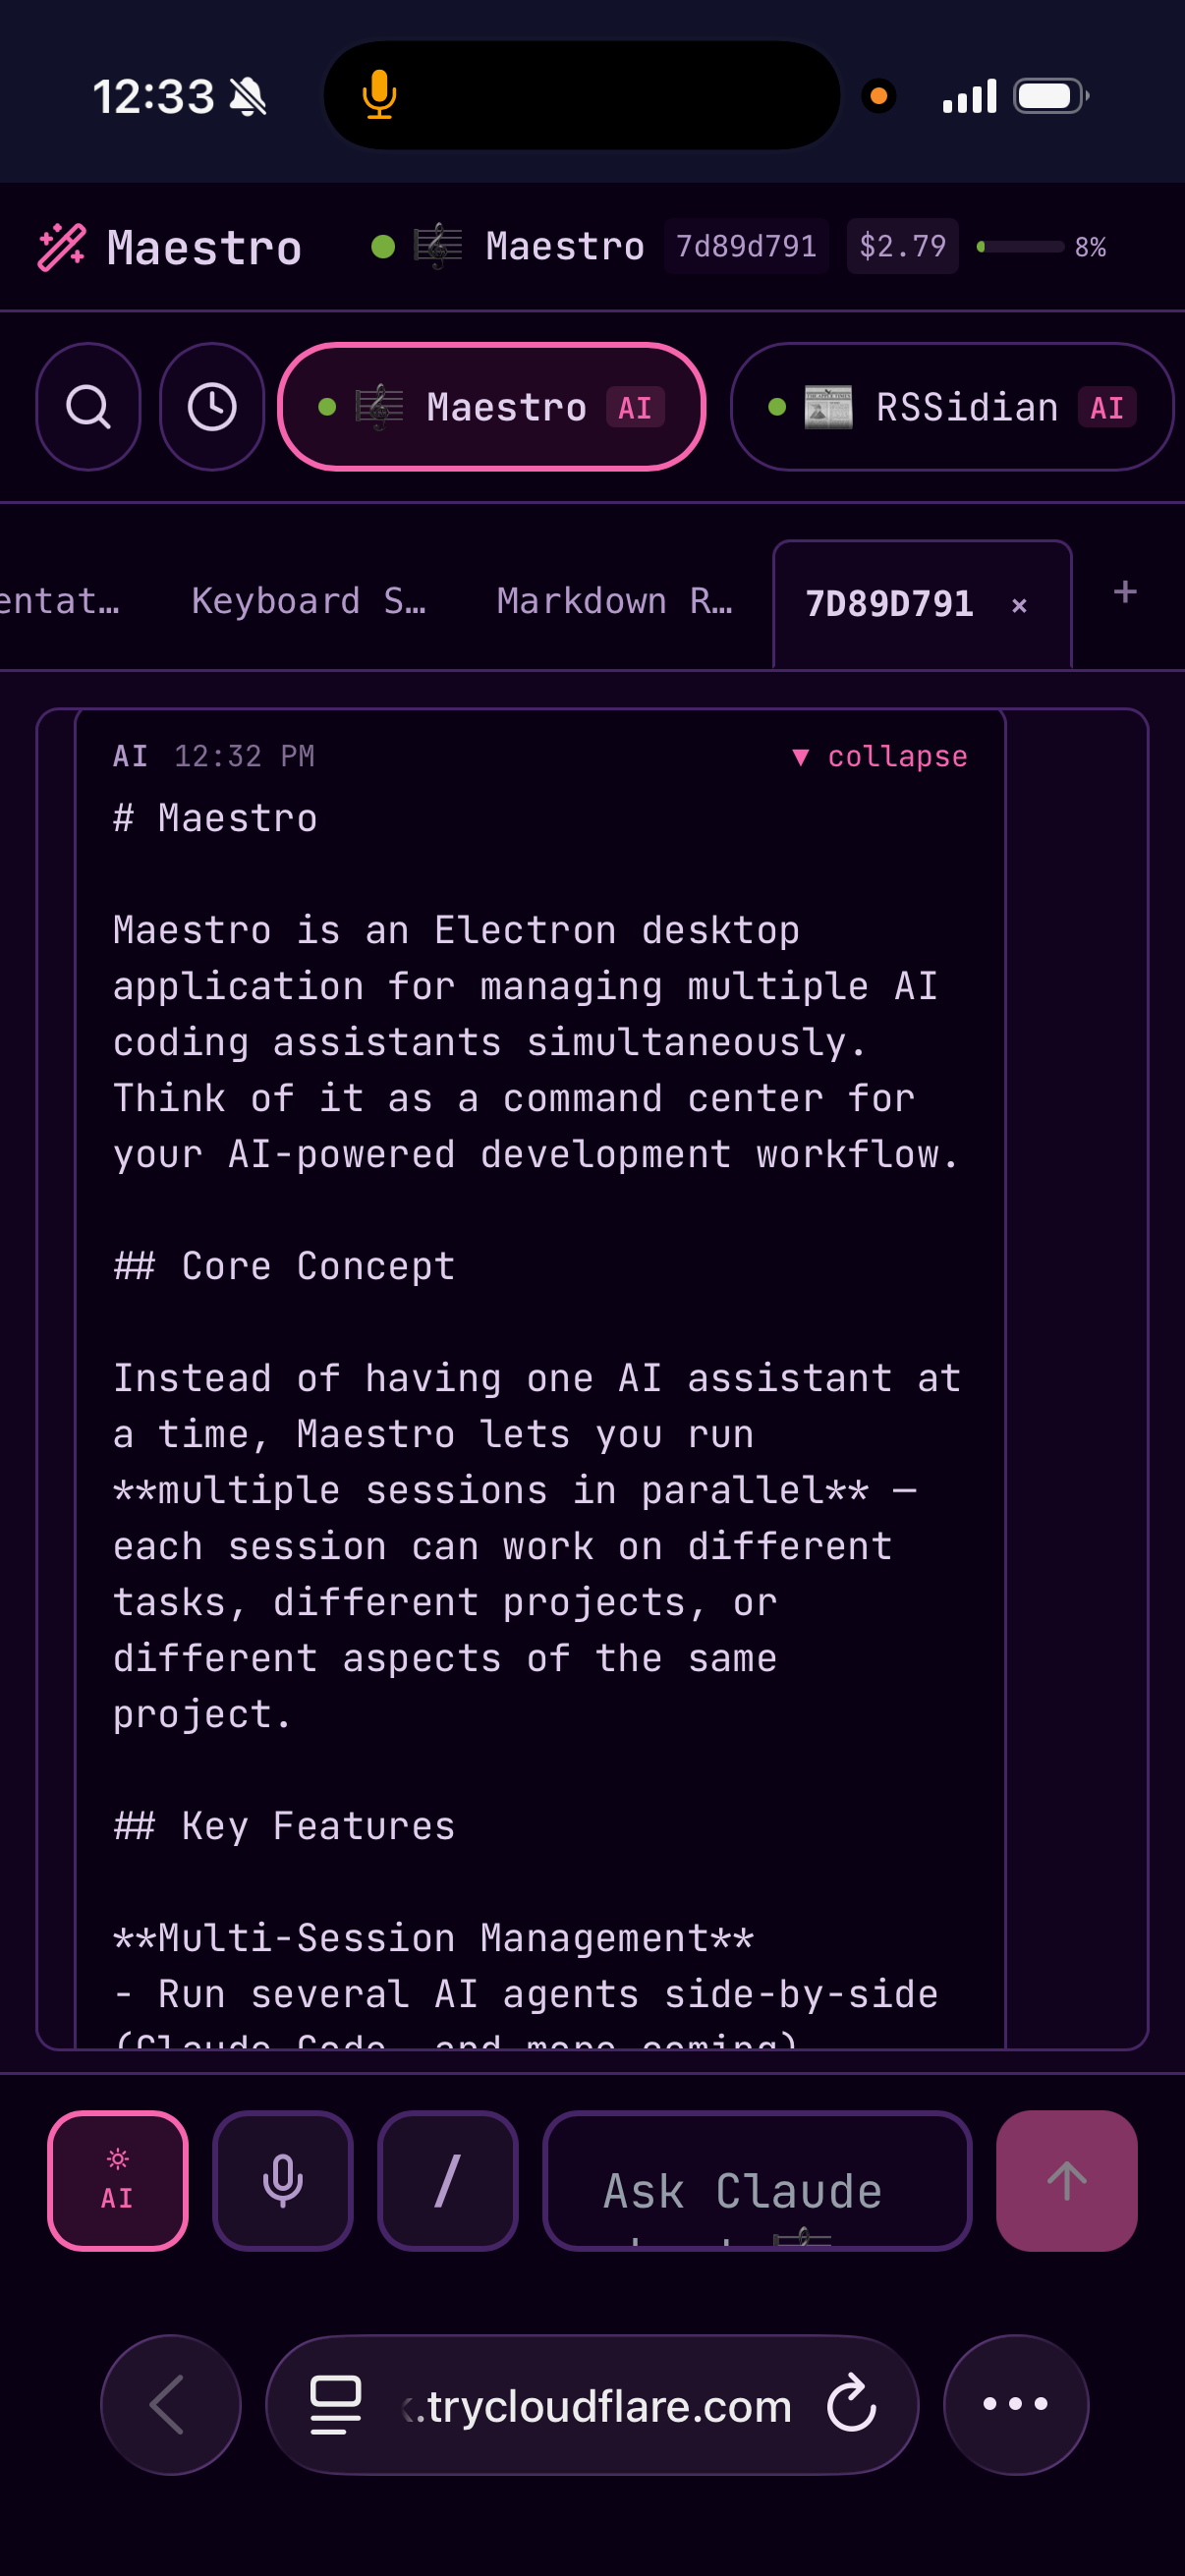
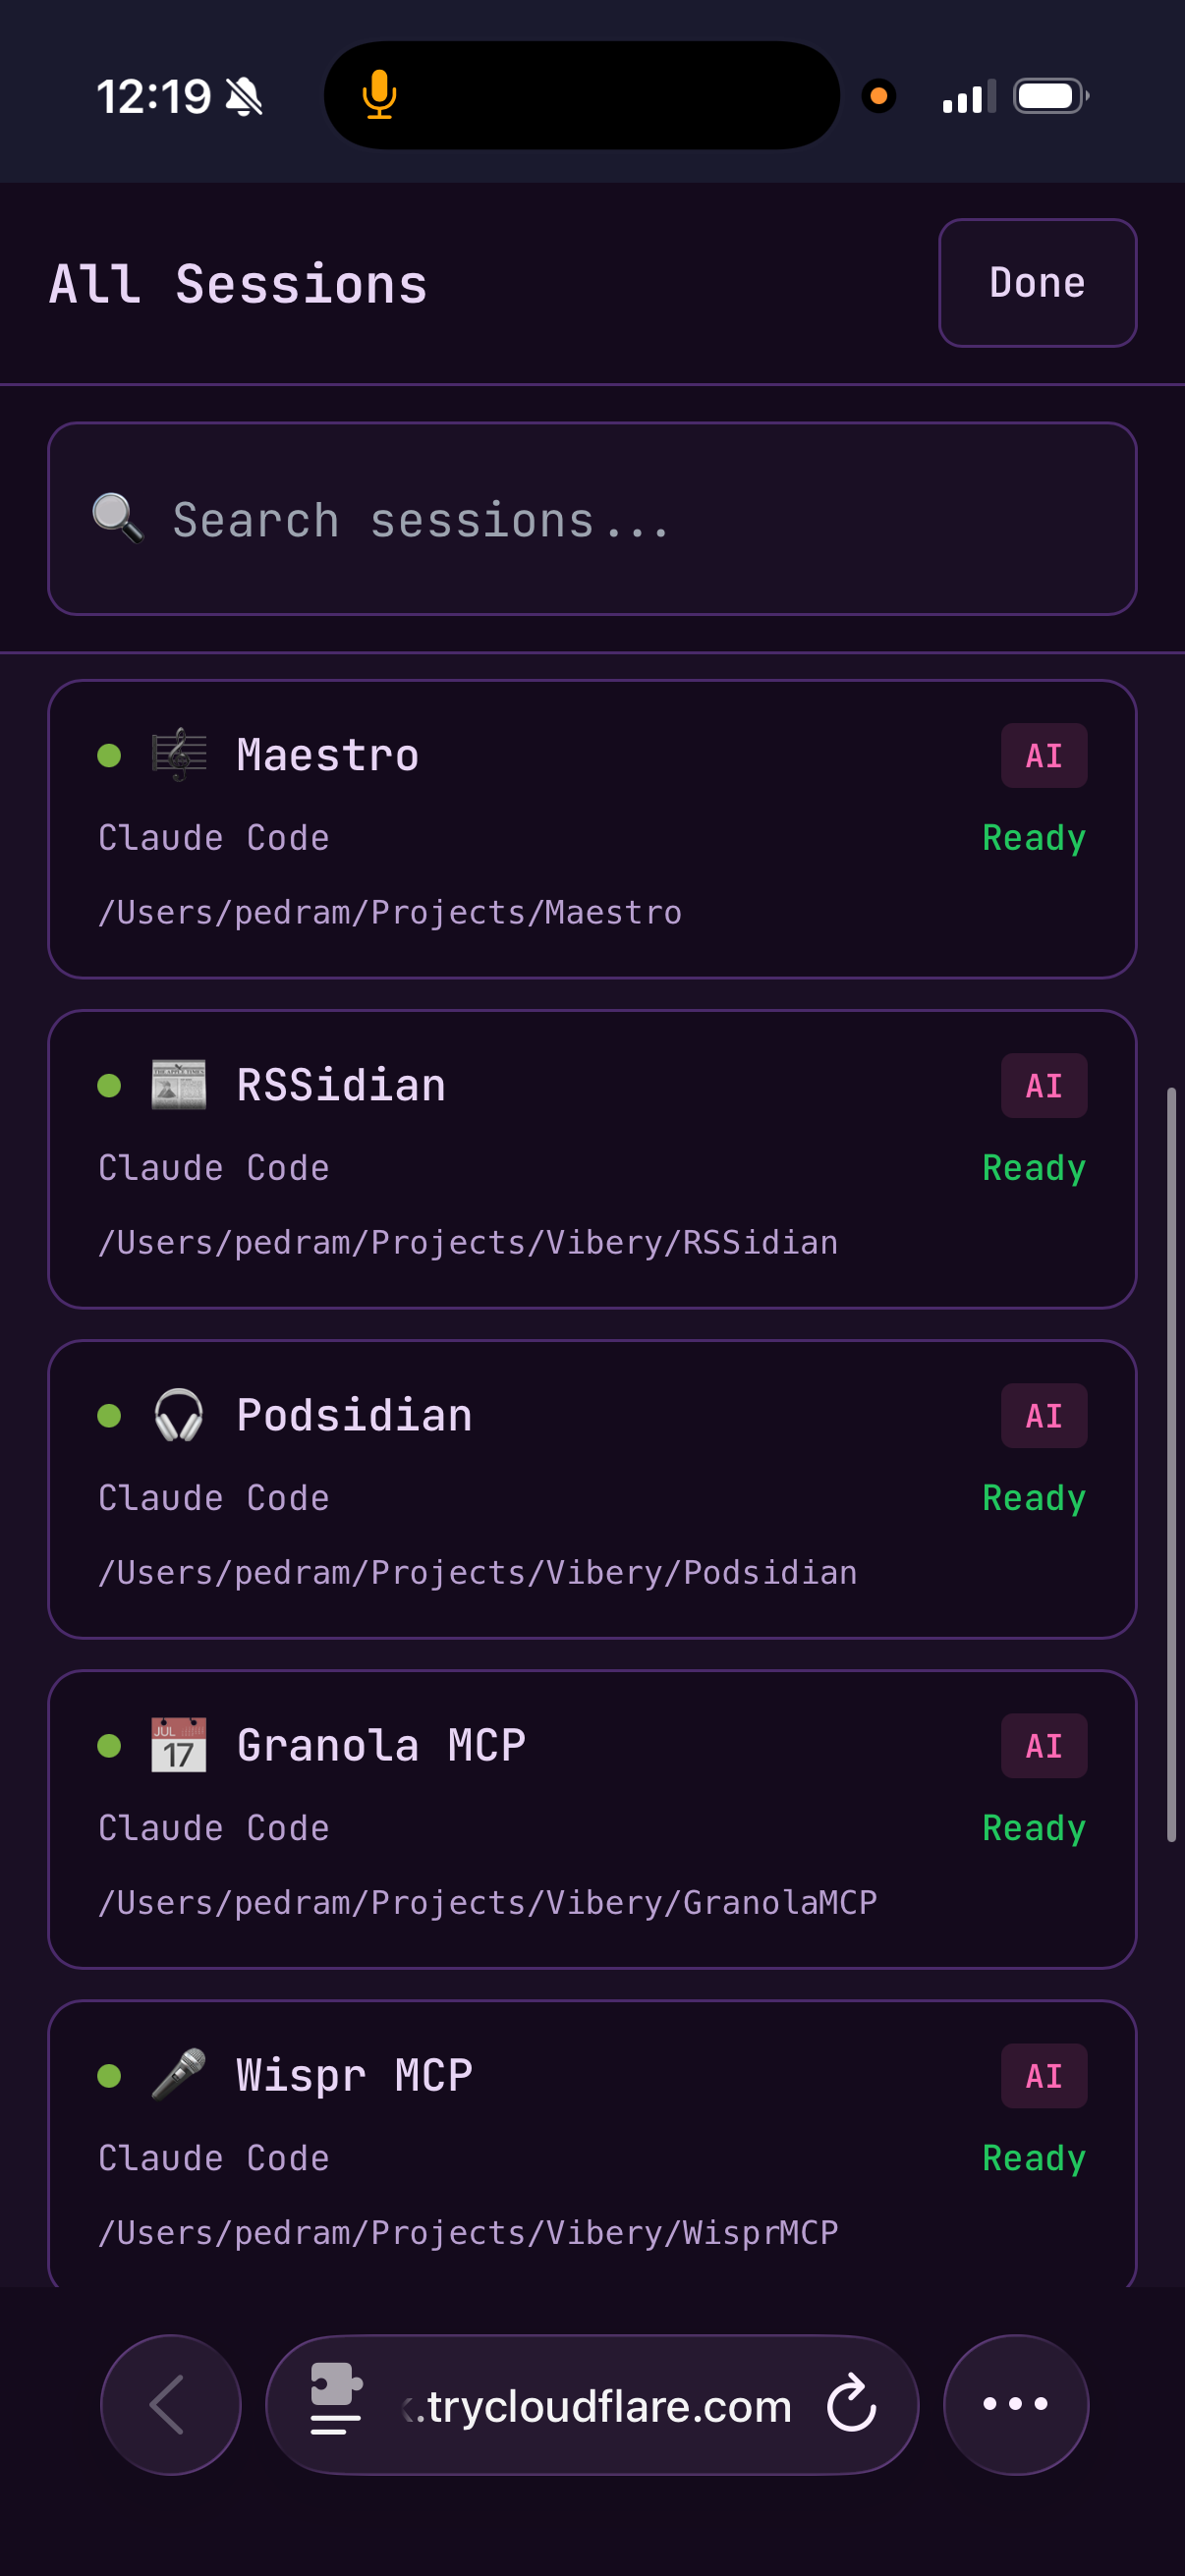
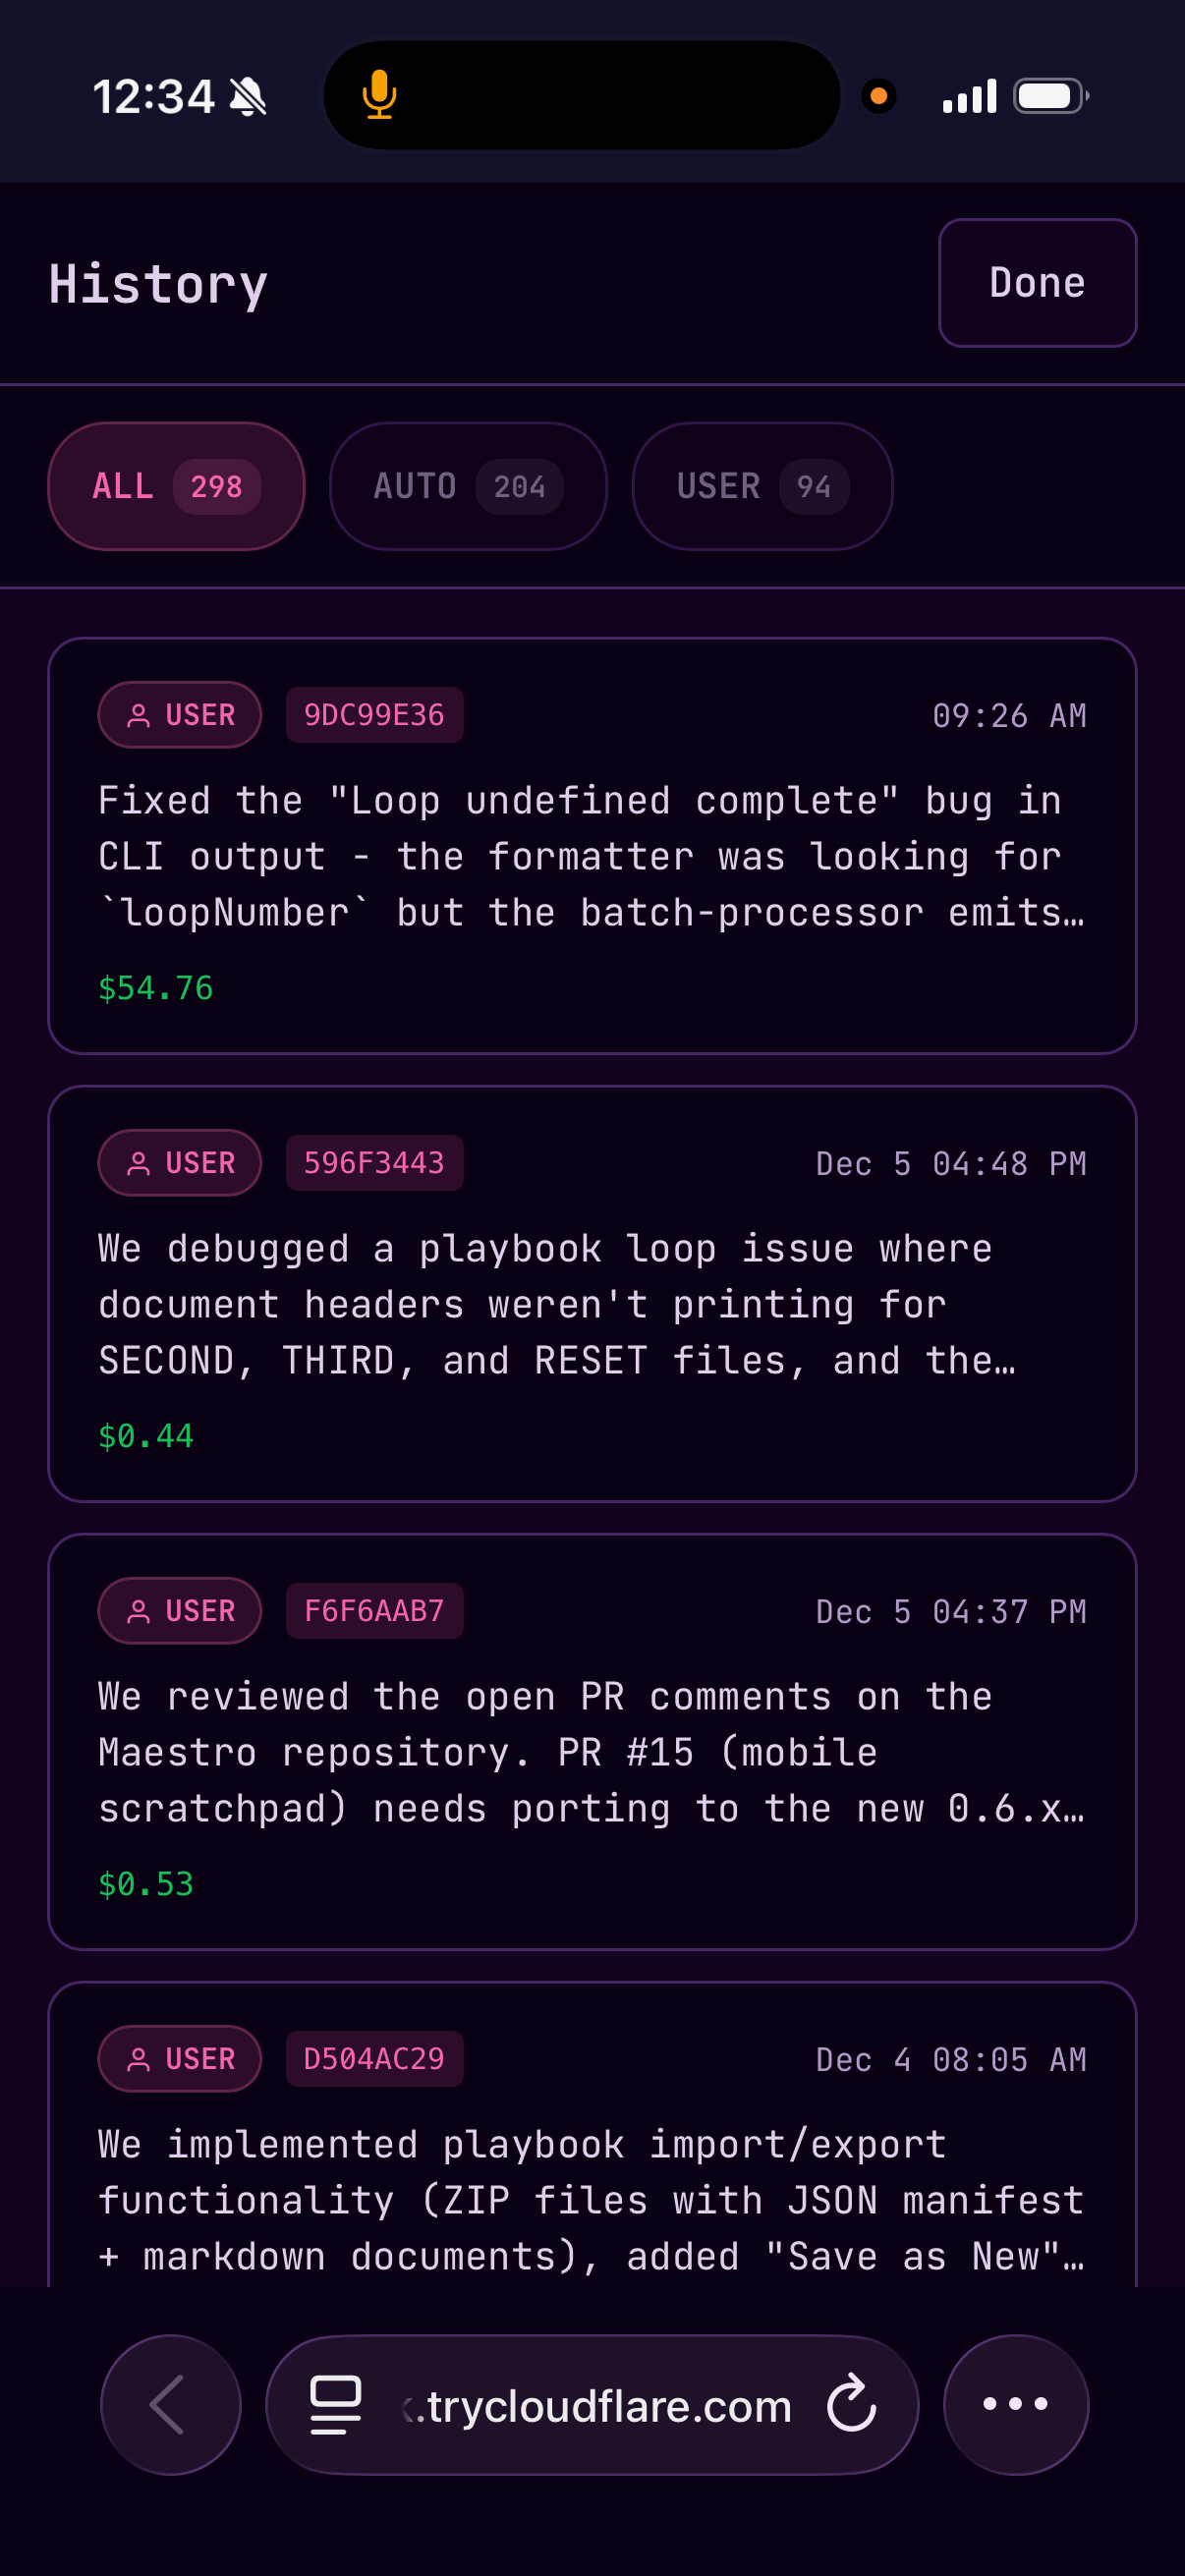
The mobile web interface provides a comprehensive remote control experience:
### Core Features
* Real-time session monitoring and command input
* Device color scheme preference support (light/dark mode)
* Connection status indicator with automatic reconnection (30-second countdown timer)
* Offline queue for commands typed while disconnected (persisted to localStorage, up to 50 commands)
* Multi-tab support with tab bar and tab search modal
### Gestures and Navigation
* Swipe gestures (left/right/up/down) for common actions
* Pull-to-refresh functionality
* Long-press menu for mode switching (AI ↔ Terminal)
### Input Features
* Recent command chips for quick access
* Slash command autocomplete
* Command history drawer
## Local Access (Same Network)
1. Click the **OFFLINE** button in the Left Bar header to enable the web interface
2. The button changes to **LIVE** (pulsing) and a QR code overlay appears automatically
3. Scan the QR code or copy the secure URL to access from your phone on the same network
The web interface uses your local IP address (e.g., `192.168.x.x`) for LAN accessibility. Both devices must be on the same network.
## Remote Control (Outside Your Network)
To access Maestro from outside your local network (e.g., on mobile data or from another location):
1. Install cloudflared: `brew install cloudflared` (macOS) or [download for other platforms](https://developers.cloudflare.com/cloudflare-one/connections/connect-networks/downloads/)
2. Enable the web interface (**OFFLINE** → **LIVE**)
3. Toggle **Remote Control** in the Live overlay panel
4. A secure Cloudflare tunnel URL (e.g., `https://abc123.trycloudflare.com`) will be generated within \~30 seconds
5. Use the **Local/Remote** pill selector to switch between QR codes
6. The tunnel stays active as long as Maestro is running — no time limits, no Cloudflare account required
The Remote tab automatically activates when the tunnel connects successfully.
## Custom Port Configuration
By default, Maestro assigns a **random port** each time the web server starts. This is a security-by-obscurity measure — attackers can't easily guess which port to target.
However, if you need a **fixed port** (e.g., for firewall rules, reverse proxies, or persistent tunnel configurations), you can enable custom port mode:
1. Click the **LIVE** button to open the Live overlay panel
2. Toggle **Custom Port** to enable static port mode
3. Enter your desired port number (1–65535)
4. The server restarts automatically on the new port
**Use cases for custom ports:**
* Punching a hole through a firewall or NAT
* Configuring a reverse proxy (nginx, Caddy)
* Setting up persistent SSH tunnels
* Integration with home automation systems
**Security Trade-off**: Using a custom port removes one layer of security-by-obscurity. The randomized port and auto-generated auth token in the URL work together to protect access. With a custom port, you're relying solely on the auth token for security.
**Recommendations when using custom ports:**
* Use Cloudflare tunnel for remote access instead of exposing ports directly
* Ensure your network firewall is properly configured
* Consider additional authentication at the network level
## Connection Handling
The mobile interface includes robust connection management:
### Automatic Reconnection
* When disconnected, a 30-second countdown timer displays before automatic reconnection
* Manual **Retry** button available for immediate reconnection
* Reconnection attempts counter shows progress (e.g., "Attempt 3 of 10")
### Offline Mode
* Commands typed while offline are queued (up to 50 commands)
* Queued commands are persisted to localStorage and survive page reloads
* Commands automatically send when connection is restored
* An **Offline Queue Banner** shows the number of pending commands
### Connection Status Indicator
* Displays as a dismissible banner when connection is lost
* Shows different states: **Connecting**, **Authenticating**, **Disconnected**, **No internet**
* Expandable error details for troubleshooting
## Screenshots
 ## Related
* [Configuration](/configuration) — General settings including web interface options
* [SSH Remote Execution](/ssh-remote-execution) — Running Maestro on remote servers
## Related
* [Configuration](/configuration) — General settings including web interface options
* [SSH Remote Execution](/ssh-remote-execution) — Running Maestro on remote servers