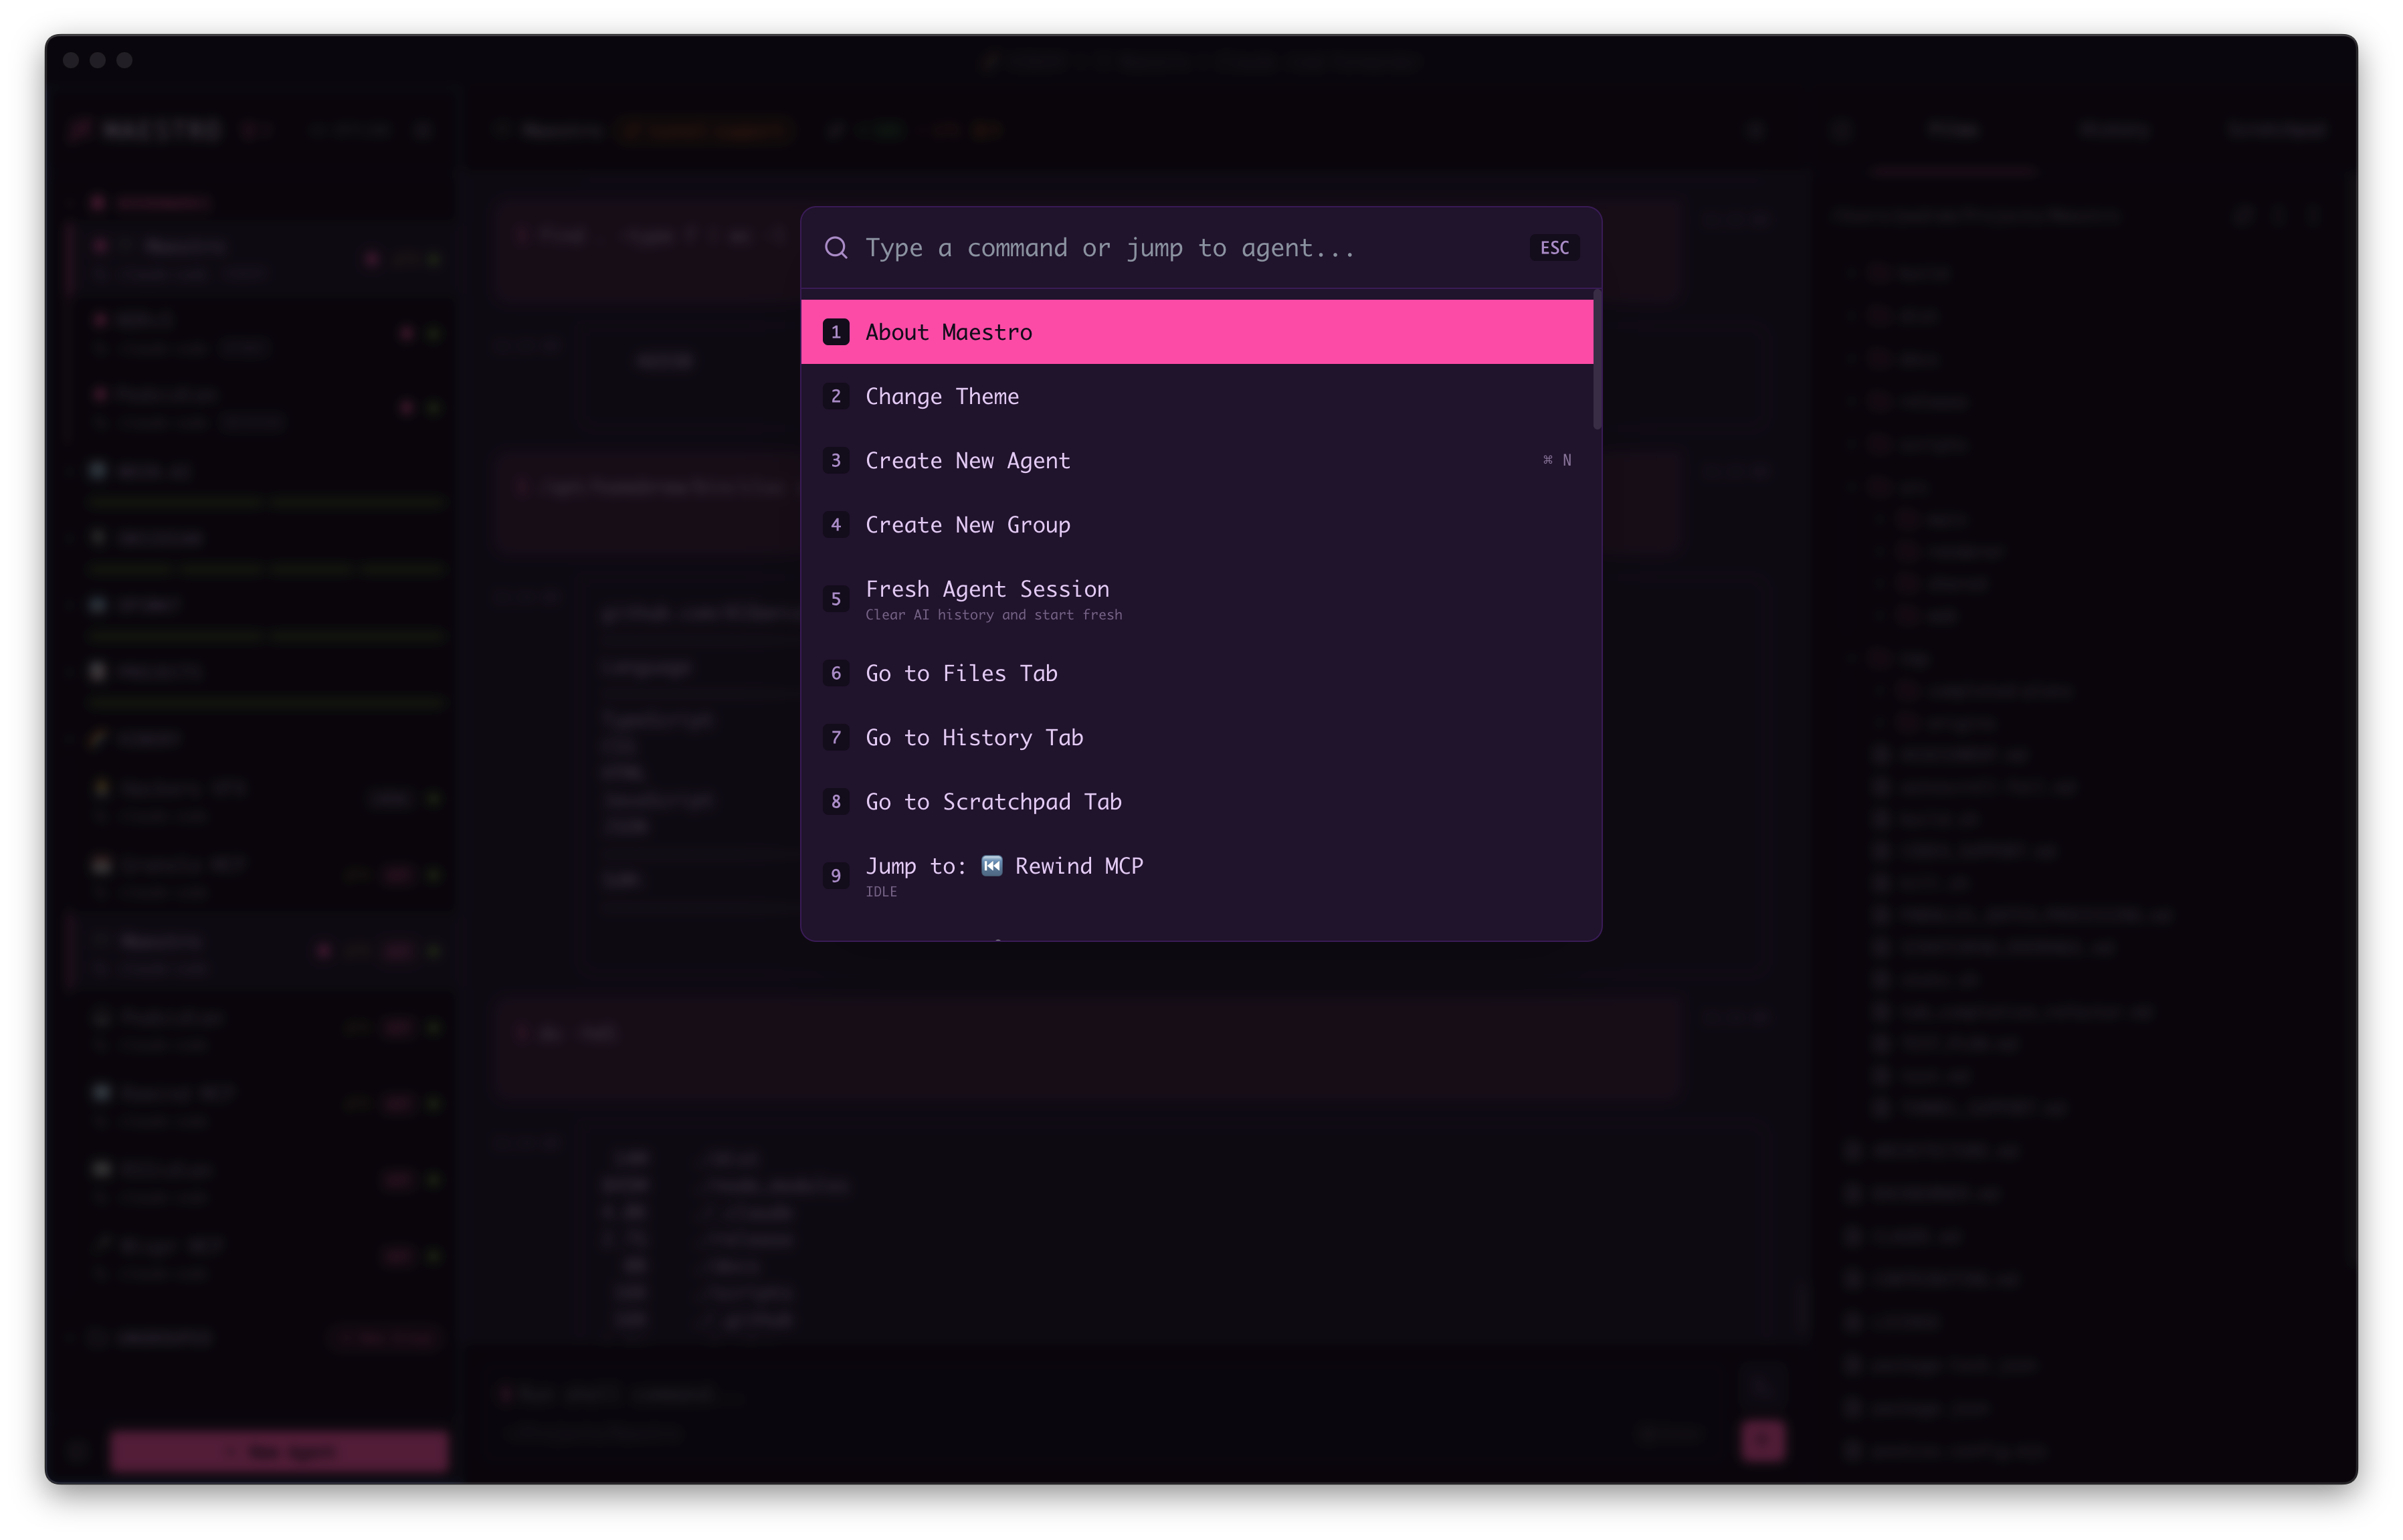
Quick Actions (Cmd+K)
The command palette is your gateway to nearly every action in Maestro. PressCmd+K (Mac) or Ctrl+K (Windows/Linux) to open it.
System-Wide Hotkey (Summon Maestro)
Configure a single OS-level hotkey that summons Maestro - bringing the window to the foreground and focusing it - from any application on macOS, Windows, or Linux. This is the only shortcut in Maestro that fires while the app is in the background; every other shortcut on this page is in-app. To configure:- Open Settings (
Cmd+,/Ctrl+,) → General tab - Find Global Hotkey to Show Maestro
- Click the key capture button and press your desired combo
- Leave it blank to disable the binding
- Pick a combo with two modifiers (e.g.
Cmd+Shift+M/Win+Shift+M) to avoid clashing with app shortcuts. - If the OS or another app already owns the combo, Maestro will surface a registration failure - pick a different binding.
Metamaps to Cmd on macOS and Win (Super) on Windows/Linux automatically.- The hotkey works even when Maestro is hidden, minimized, or behind other windows.
Global Shortcuts
The full-window surfaces in that table (Settings, Usage Dashboard, Director’s
Notes, Symphony, Cue, Process Monitor, System Logs, Agent Sessions, Memory)
replace each other rather than stacking, and their hotkeys stay live while one
of them is up. Press
Opt+Cmd+U from Director’s Notes to land on the Usage
Dashboard, then Cmd+Shift+O to go straight back. This holds for a rebound
surface too, so a chord you chose yourself behaves the same as the default.
Panel Shortcuts
Cmd+E toggles edit and preview on a markdown File Preview, in the Memories
viewer (Cmd+Shift+M), where the pane opens on the rendered document, and on
the Maestro Prompts tab in Settings, where it opens on the source. Inside the
Memories viewer, Cmd+G graphs the memories and Cmd+U toggles the unlinked
filter, in place of their usual meanings.
Git: Pull, Git: Push, Git: Change Branch, and Git: Create Pull Request ship
unbound. They run against the active agent’s repository, exactly as the branch
pill’s dropdown and the command palette (Cmd+K) do, and two of them write to a
remote, so Maestro does not claim four chords for them out of the box. Bind any
of them in Settings -> Shortcuts and the chord appears on the matching
branch-pill row and palette entry.
Opt+Cmd+R reloads the file tree, git status, worktree list, and history for
the active agent in one press. When a File Preview is open it re-reads that file
from disk too, so everything on screen comes back fresh in one chord. A file you
have unsaved edits in is left alone: the reload would discard them without
asking, and the on-disk-change banner is where that question belongs. Plain
Cmd+R is reserved: Maestro blocks it so the window can never reload out from
under a running agent.
Group Chat
A group chat has no tab strip, so the tab-cycle chord switches the right panel instead. Team Chat / Moderator Only switches how much of the room you read. Moderator Only hides the delegations the moderator sends to agents and the replies they send back, in both the transcript and the History tab, leaving just your own conversation with the moderator. Nothing stops or is deleted: the agents keep working and every message is still logged, so switching back shows the full record.
Cycling to History gives the list keyboard focus, so
Up / Down walk the entries
right away and the list scrolls to keep the selected entry on screen.
AI Tab Shortcuts
These shortcuts work in AI Terminal mode and affect the current tab:
Toggle states are saved per-tab. See Input Toggles for details on configuring defaults.
Walking Unread and Draft Tabs
Opt+Cmd+Down walks forward through every tab that is unread, holds an unsent draft, or has an unfinished inline wizard. It prefers a tab in the agent you are already on, then moves to the next agent in the sidebar’s visible order, wrapping around at the end.
Walking backward is on the second press of Opt+Cmd+Up. The first press brings the current tab into focus in the tab bar and centers it. Once it is centered and focused, that press has nothing left to do, so pressing it again walks backward instead: the tab nearest the left of the strip, then the previous agent, wrapping around at the start. It is the exact mirror of Opt+Cmd+Down, so pressing one and then the other returns you to where you started.
If you scroll the tab strip away while the tab header still holds focus, the next press re-centers it rather than jumping, so you never lose the “show me where I am” behavior.
Previous Unread/Draft Tab is also its own entry in the command palette (Cmd+K) and in Settings → Shortcuts, where you can give it a dedicated chord if you would rather not press Opt+Cmd+Up twice. It ships unbound because the second press already reaches it.
Tab Management Shortcuts
In a group chat there are no AI tabs, so
Cmd+Shift+[ / Cmd+Shift+] walk the
Right Bar instead, switching between the Participants and History panels. The Right
Bar opens if it was closed.
Focus Active Tab presses twice: the first press centers and focuses the current tab header, the second walks backward through unread and draft tabs. See Walking Unread and Draft Tabs.
Tab Switcher
The Tab Switcher provides fuzzy search across all open tabs with quick navigation: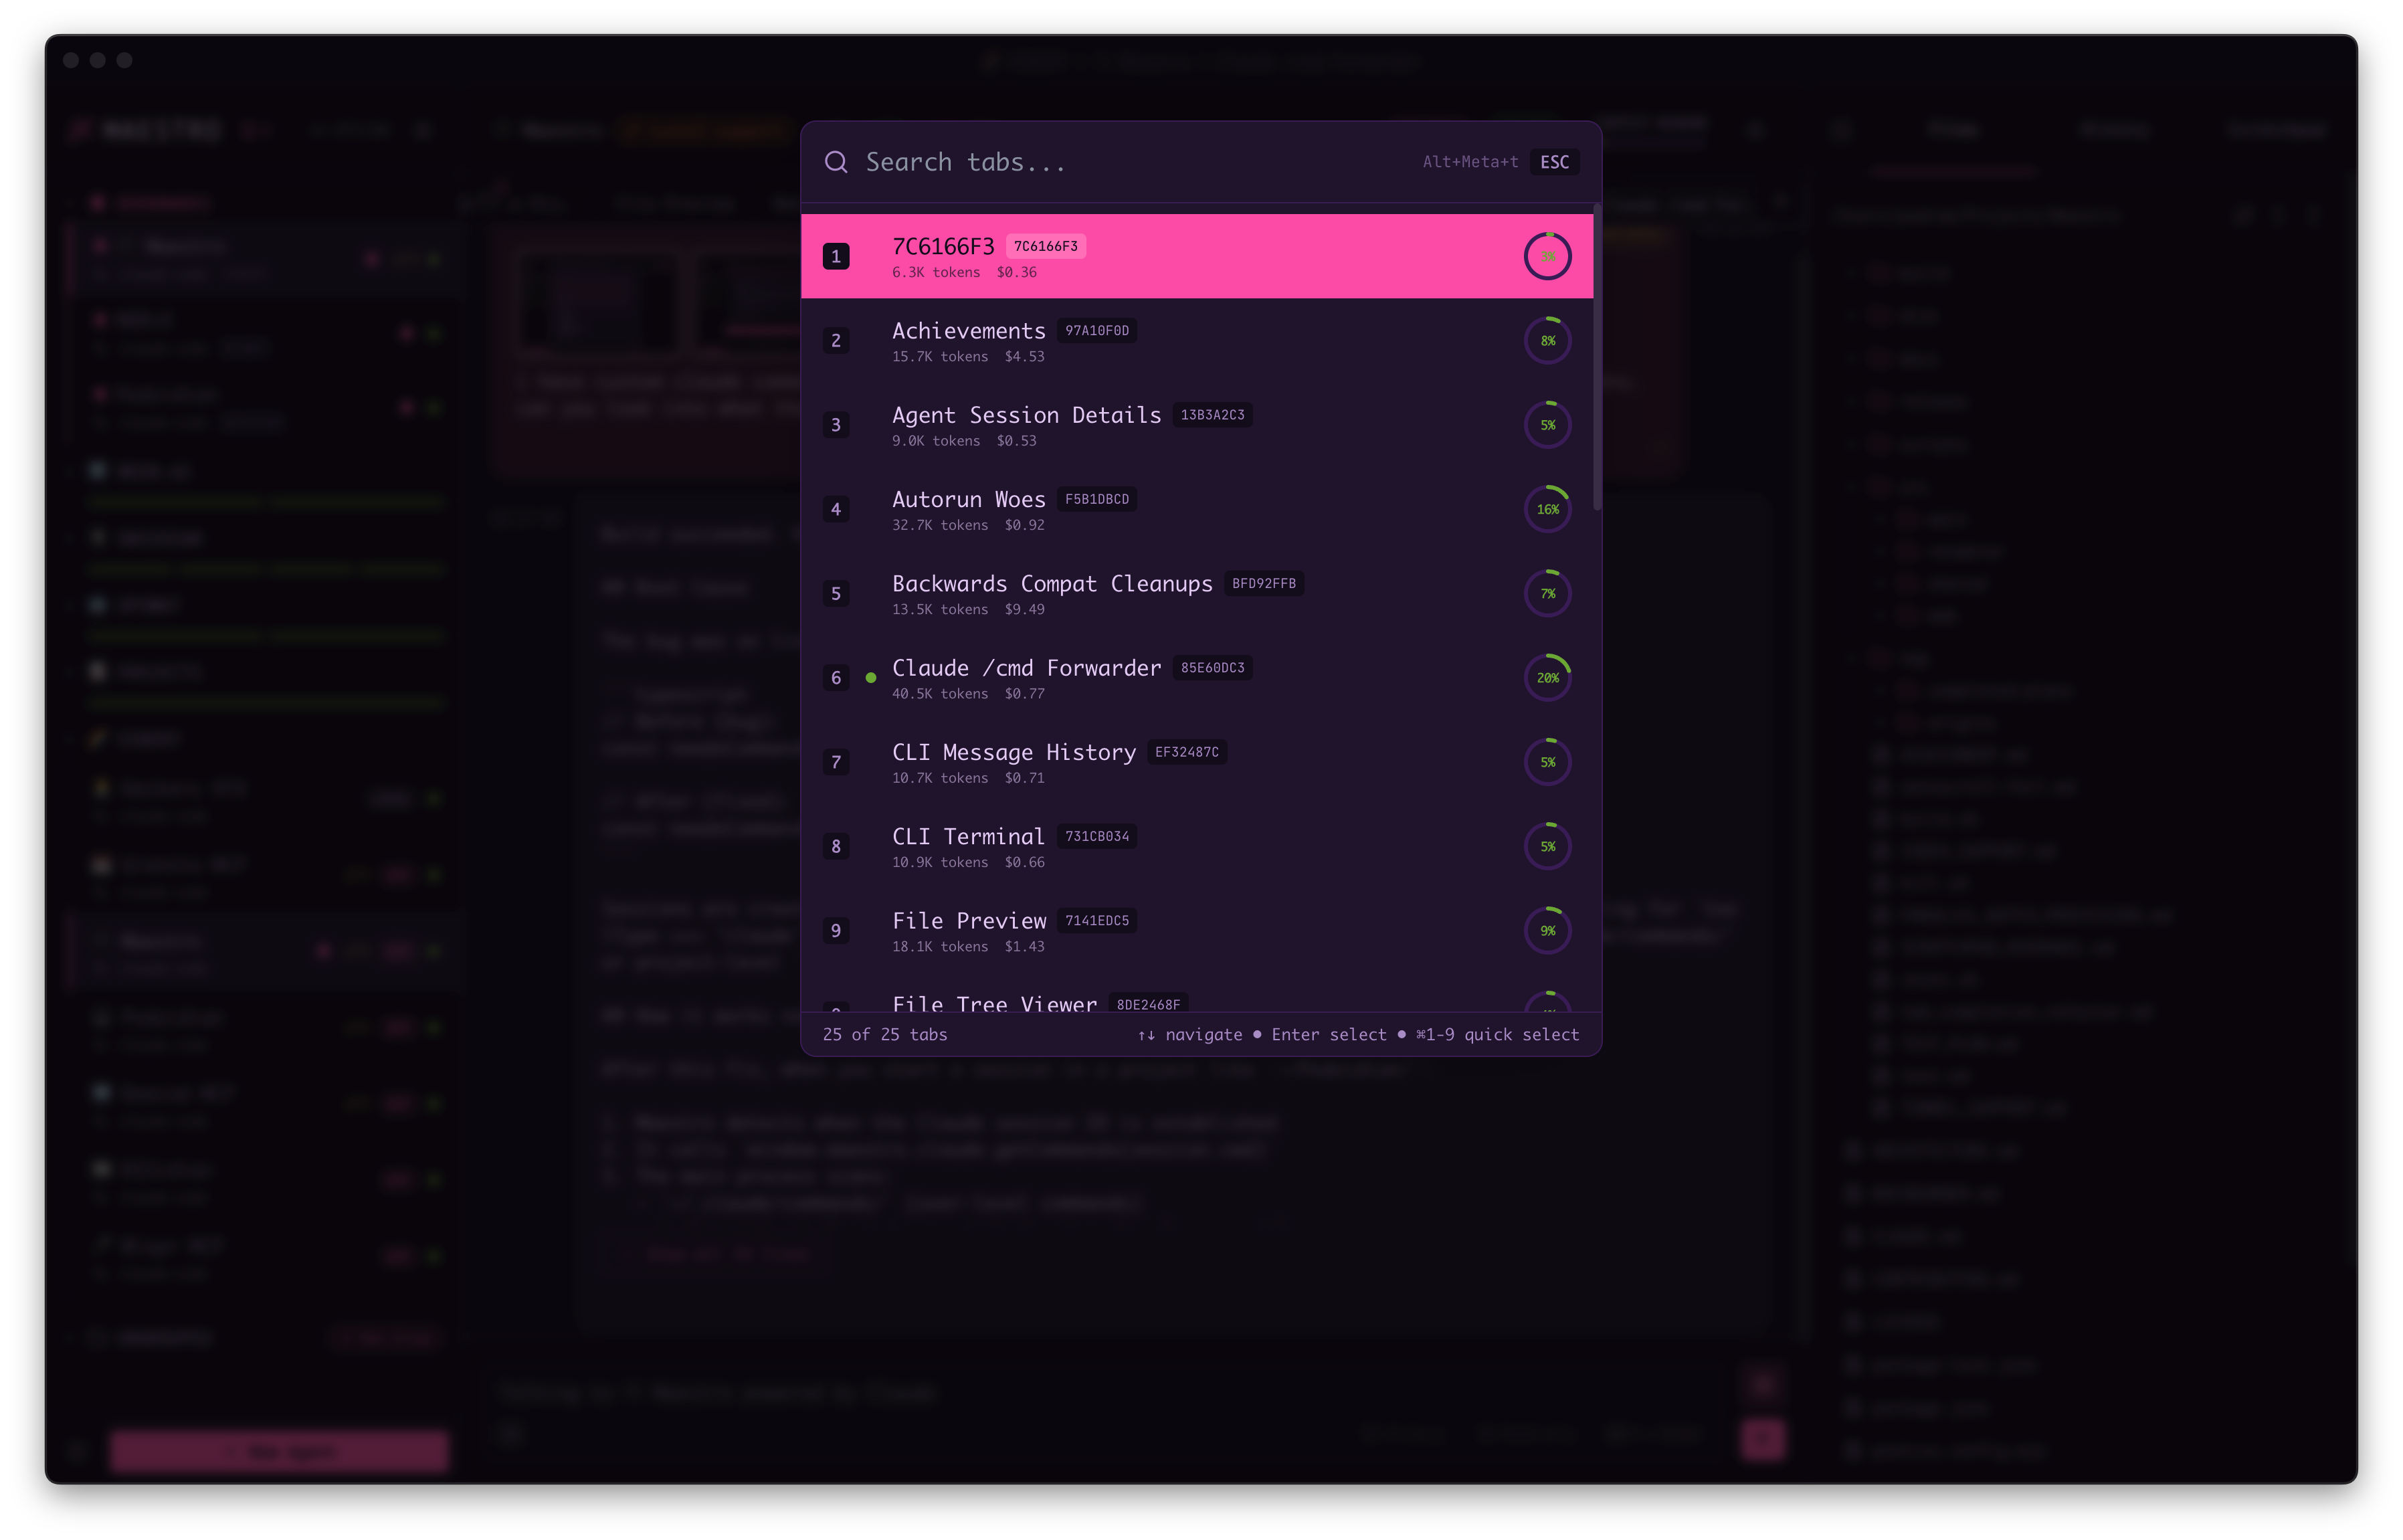
- Search - Type to filter tabs by name or session ID
- Quick select - Press
1-9to jump directly to a numbered tab - Navigate - Use
Up/Down Arrowto move through results - Select - Press
Enterto switch to the highlighted tab - Context info - Each tab shows token count, cost, and context usage
Cmd+K).
In the Snooze Tab dialog, Cmd+Enter (Ctrl+Enter on Windows/Linux) sets the snooze from anywhere in the dialog - including the note and prompt fields, where plain Enter stays a newline.
Pane Shortcuts (Tiled Tabs)
These act on the tiled set showing in the Main Panel. See Tiling Tabs for what tiling is and how to create one.The pane family deliberately requires both Ctrl and Cmd so it can never collide with the plain-Cmd equivalents (
Cmd+W closes a tab, Ctrl+Cmd+W closes a pane). On Windows and Linux the second modifier is the Windows / Super key.Ctrl+Cmd beside the rest of the pane family. The letter is the same one the plain “new tab” chord uses, so the tiled twin is that letter with one more modifier: Cmd+T opens a new AI chat, Ctrl+Cmd+T splits the view and puts one in the bottom half. You can also run Tile New AI Chat / Browser / File / Terminal Below from Quick Actions (Cmd+K / Ctrl+K) - type tile to see all four.
A freshly tiled pane takes the keyboard, and the caret lands in whatever that pane’s input is: the chat box for an AI tab, the command prompt for a terminal, the address bar (URL selected) for a browser, the editor for a file. See Tiling Tabs.
Input & Output
Font Zoom
Zoom is a multiplier over every surface at once, so the sizes you set for the
interface, AI chat, terminal, file preview, and file editor keep their relative
proportions as you scale. Reset returns the zoom to 100% and leaves those
per-surface sizes exactly as you set them - to restore the sizes themselves, use
Factory Reset Fonts at the top of Settings -> Display.
Command Terminal
Tab Completion
The Command Terminal - and the AI chat while in command mode - provides intelligent tab completion for faster command entry:
Completion Sources:
- History - Previous shell commands from your session. In command mode this is your prior command-mode commands, so
Tabon an empty line lists what you have run before - Files/Folders - Files and directories in your current working directory. In command mode this is the agent’s working directory, which is where the command actually runs
- Git Branches - Local and remote branches (git repos only)
- Git Tags - Available tags (git repos only)
Tab/Shift+Tab to cycle through filters or click directly.
Command Mode (AI Terminal)
! in an empty AI composer climbs one rung of the command mode ladder; Esc climbs back down. The composer never loses focus.
When AI command mode proposes a command, the card owns the keyboard until you answer it:
@ File Mentions (AI Terminal)
In AI mode, use@ to reference files in your prompts:
Example: Type
@readme to see matching files, then select to insert the file reference into your prompt. The AI will have context about the referenced file.
Navigation & Search
Searching Message History
Two searches cover your conversations, both reachable from the magnifying-glass menu in the tab bar and both supporting plain text or regex:
The Find bar highlights matches inline;
Enter and Shift+Enter step through
them. Cross-tab search opens a modal listing hits grouped by tab. Choosing one
switches to that tab, scrolls to the message, flashes it, and seeds that tab’s
Find bar with the same query positioned on the match you picked. It is also in
the command palette as “Search: Messages (All Agent Tabs)”.
See Searching Message History for
the full walkthrough.
File Preview
# opens the heading palette: every heading in the document, in the order it
appears, with a fuzzy filter on top. Type a few characters of a section name,
move with Up/Down (PgUp/PgDn to skip further), and press Enter to jump
there. It reads the same list as the Table of Contents, so use whichever suits
the moment - the ToC to browse, the palette to go straight to a section by name.
Like the zoom keys below it is bare, so it never fires while you are typing in
the find bar or editing the document. The same list is in the command palette as
Jump to Heading, offered only while a markdown file is open in preview.
The three zoom keys are bare - no modifier - and are distinct from the app-wide
Cmd+= / Cmd+- in Font Zoom, which scales the whole interface.
They apply only where the zoom moves type (markdown, code, and text views), and
they never fire while you are typing, so the find bar and the markdown editor
keep those keys. The same steps are available from the zoom pill that rests in
the top-right corner of the preview.
CSV Row Detail
Available while previewing a.csv or .tsv file. See
CSV and TSV Tables for the full
walkthrough.
The field list is focused on open, so these work without clicking first.
Staged Images Organizer
Opened with the expand button (⤢) beside the staged-image strip, with two or more images attached. See Staged Images.
The zoom keys are bare, like the ones in File Preview, so the
app-wide
Cmd+= / Cmd+- in Font Size keeps working while the
organizer is open. They stop firing while the lightbox or the annotator is open
on top of it.
Usage Dashboard
The Agents and Groups tabs draw one tile per agent or group. The tile size is yours to set, and it is remembered across restarts. See Usage Dashboard.
The two tabs keep separate sizes, so widening the agent tiles leaves the group
tiles alone. The buttons beside the sort pills do the same thing.
Like the other bare zoom keys in this document, they leave
Cmd+= / Cmd+-
alone, and they stop firing while an agent or group detail view is open on top
of the grid.
Memories Viewer
The file list is focused when the viewer opens, so these work right away. See Memories for the full walkthrough./ only jumps to the filter when you are not already typing, so a slash typed
into a memory stays a slash. Cmd+F works from anywhere, including the editor.
Esc climbs back out one rung at a time rather than closing straight away:
from the filter box it returns you to the list keeping your query, so you
can filter and then arrow through the hits; pressing it again clears the
filter, and once more closes the viewer.
Git Log
Open it withCmd+Shift+G (Ctrl+Shift+G). The viewer has two views, List and
Graph, and remembers which one you left it on.
The search box narrows both views at once. It matches the commit hash (full or
short), the message, the author, a branch or tag name, and the date, and several
words are ANDed, so
fix usage finds fix(usage): .... Up/Down and the page
keys keep stepping the commits while you are still typing, so you can filter and
walk the hits without leaving the box; j/k stay letters there. Esc clears
the query first and only closes the viewer once the box is empty.
Graph view is FILTERED, not just highlighted: the commits that do not match are
contracted out of the graph and the survivors reconnect to their nearest matching
ancestor, so the branch lines still show which of the remaining commits came
after which.
In Graph view each axis answers one question, and both read off what is drawn.
Up/Down follow the branch line the selected commit sits on, skipping commits
drawn beside it on other branches, and stop at that branch’s newest and oldest
commit. Left/Right are the only keys that cross branches: they move to the
line drawn immediately left or right, landing at the height you were already at,
so the selection slides sideways instead of jumping to another branch’s tip.
Home/End and the page keys also stay on the current branch. Clicking a commit
message selects it, the same as clicking its dot. The graph is built from every
branch, so all of this reaches commits the List view does not hold.
Maestro Prompts (Settings)
Settings -> Maestro Prompts edits the system prompts Maestro sends to agents. The prompt list is focused when the tab opens, so these work right away.
The filter searches each prompt’s name, description, and body, so you can find
a prompt by a phrase you remember from inside it.
/ only jumps to the filter
when you are not already typing, so a slash typed into a prompt stays a slash.
Cmd+F is not rebound here: it stays on the Settings search box.
Preview renders the prompt as markdown with its template variables resolved
against the active agent, so it shows what the agent actually receives.
Esc climbs back out one rung at a time: it dismisses the template-variable
popup, then returns you from the filter box to the list keeping your query,
then clears the filter, then closes the help panel or the expanded editor, and
only then closes Settings.
Agent Sessions Browser
Opened withCmd+Shift+L. The list view walks sessions; the detail view adds a
one-key resume.
Cmd+E renames the highlighted row in the list, or the session you are viewing
in the detail pane. Esc while renaming exits the name field and leaves the
browser where it was; press it again to go back or close.
Cmd+R is off while you are renaming a session, so it cannot discard a name
you are half-way through typing.
Document Graph
P walks the node preview length through Off, 50, 100, 200, 350, and 500
characters. At Off each document is drawn as a filename pill with no body
box, which is the densest way to read the shape of a large graph.
L walks the six layouts: Mind Map (tree columns), Radial (concentric
rings), Hierarchical (top-down rows), Force (physics simulation),
Lobes (documents grouped by which other documents they link to), and
Timeline (one column per day, oldest on the left, captioned with the date).
F re-frames the whole graph in the window. The graph also fits itself when it
opens and whenever the layout or preview length changes.
S switches what the scroll wheel does. In Zoom (the default) the wheel
zooms toward the cursor and Shift+scroll pans; in Pan the wheel pans in
both directions and Shift+scroll zooms. Pan is what you want once the framing
is right and you are reading across a wide graph, where every scroll otherwise
changes the zoom you just set. The mode is also a toolbar pill and an inline
toggle in the Help panel, and it is remembered between visits.
C opens the screenshot chooser: copy the graph to the clipboard, or write
it to disk as a PNG. The shot is the graph area exactly as it is painted, so
frame it first.
Customizing Shortcuts
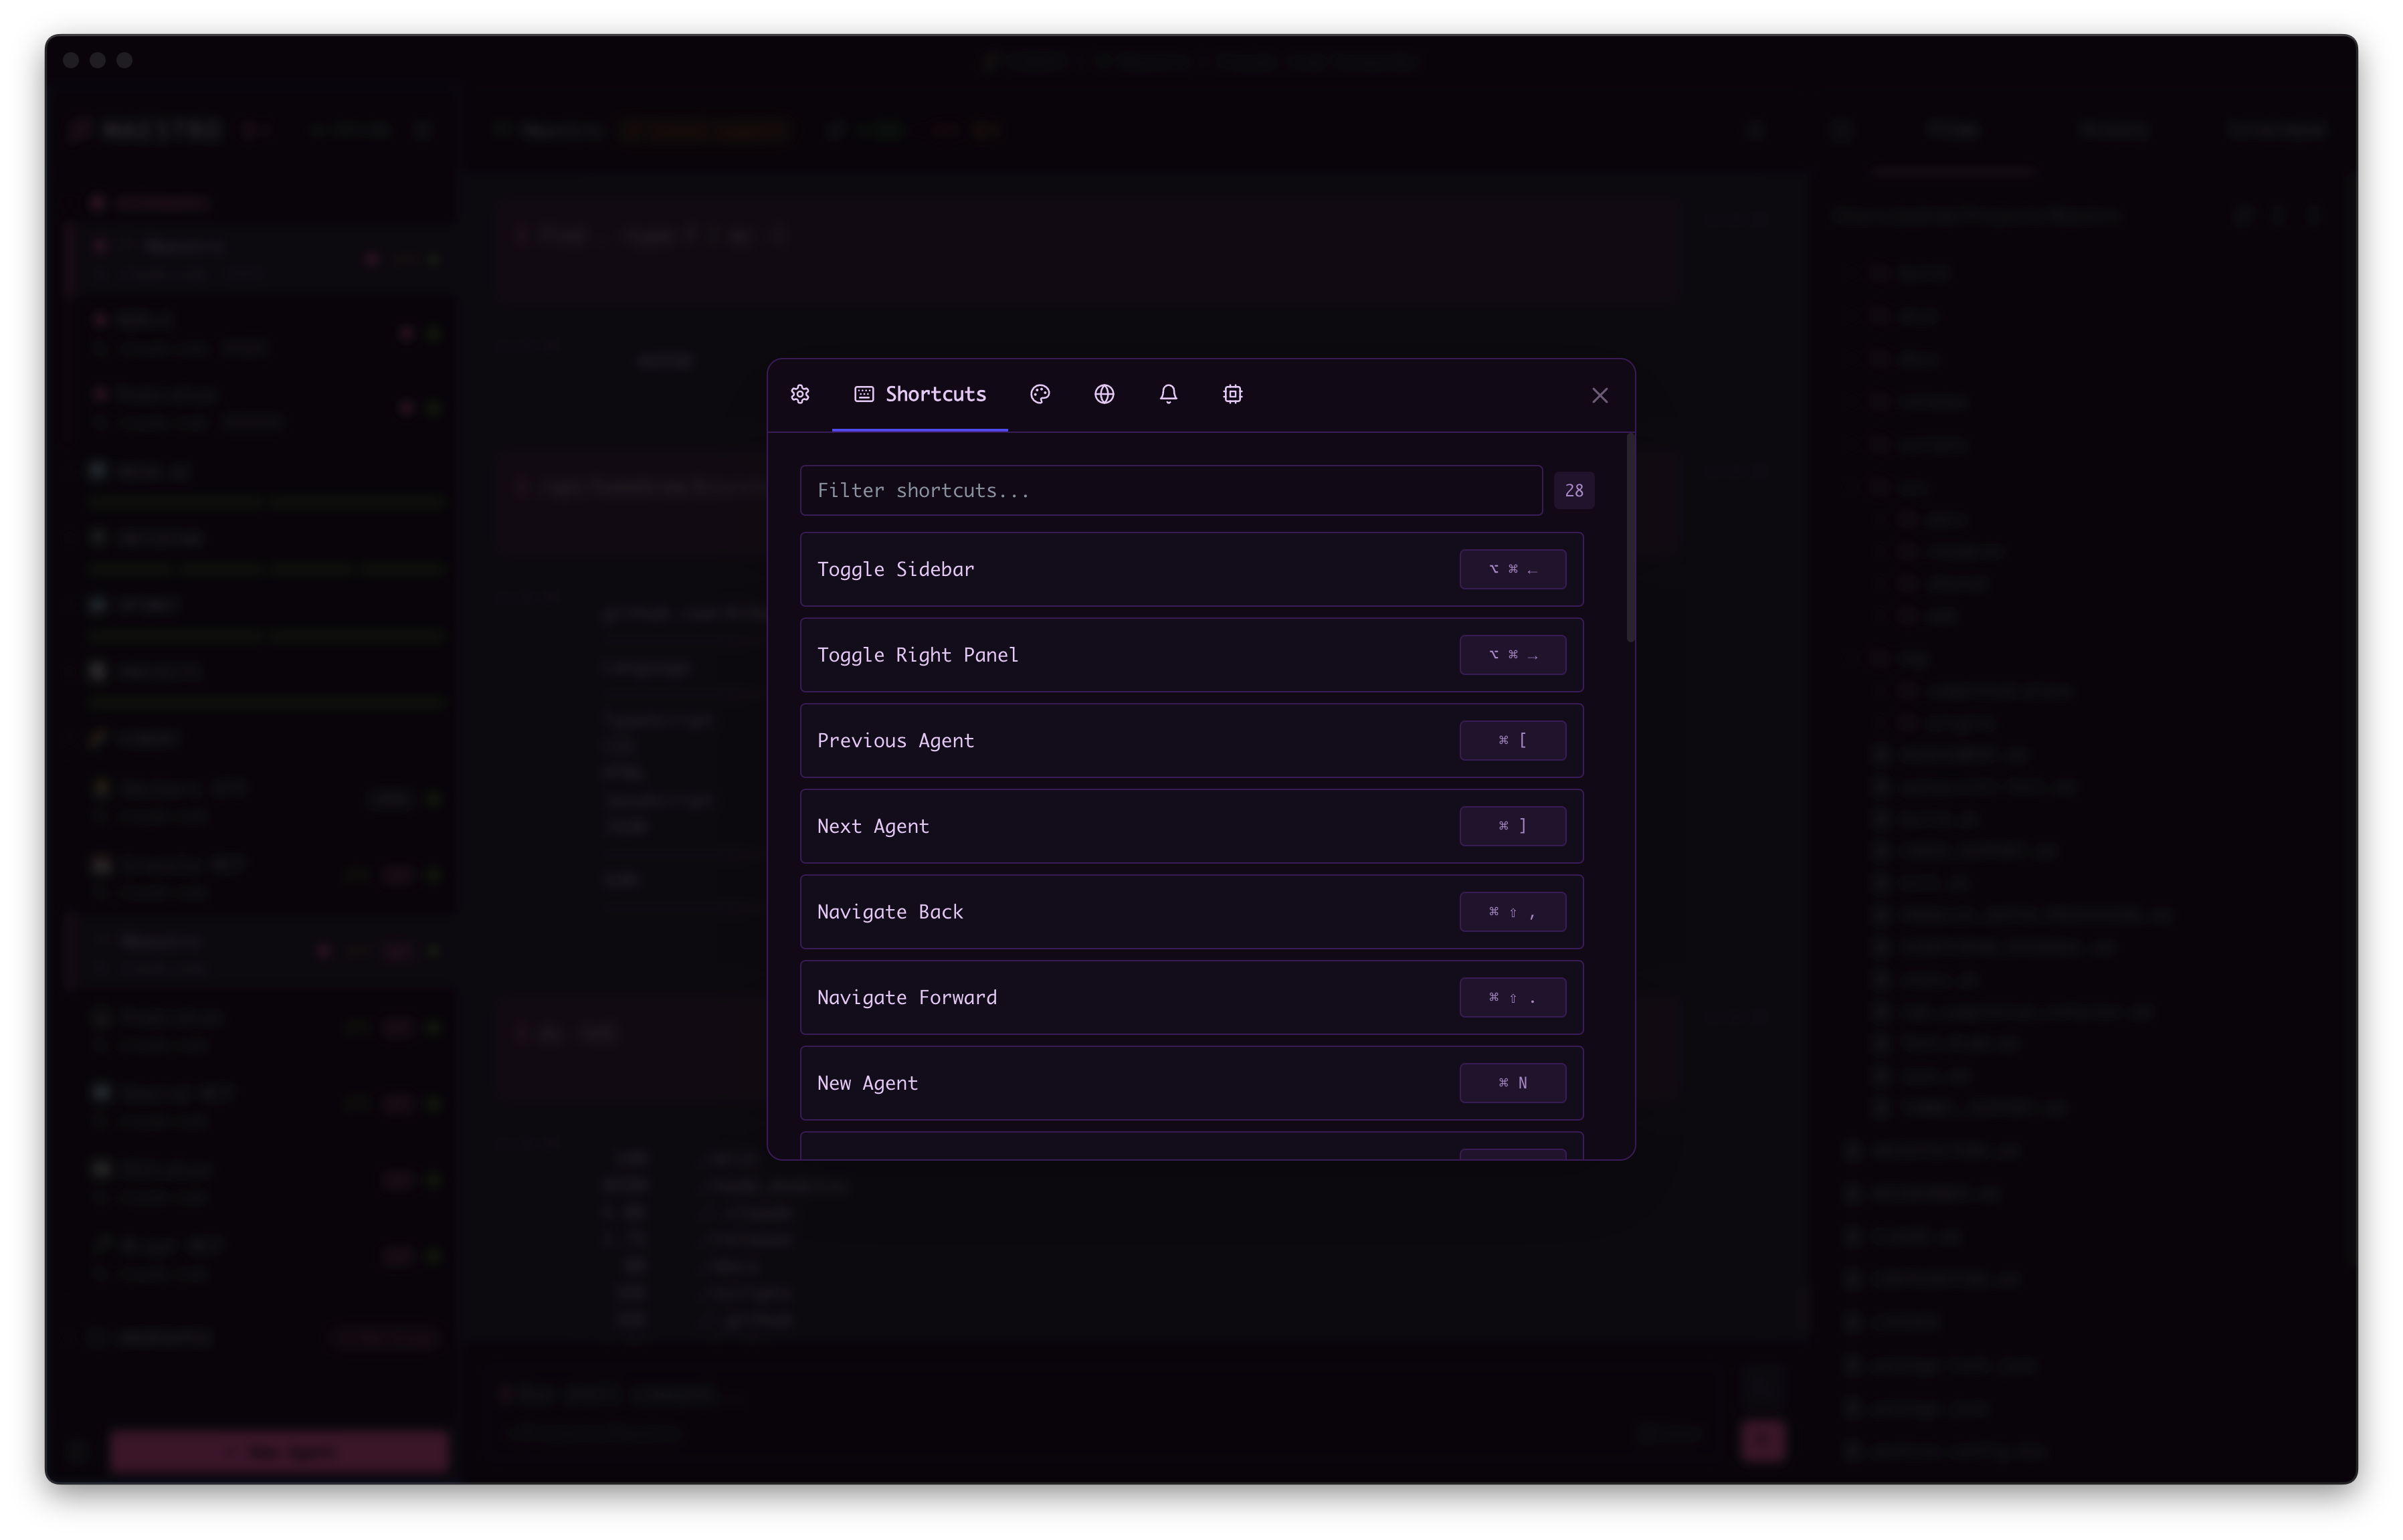
Most shortcuts can be remapped to fit your workflow:- Open Settings (
Cmd+,/Ctrl+,) → Shortcuts tab - Find the action you want to remap. The search box matches on the action name, and names are written so that the obvious word finds the whole family: type
gitfor every git action,tabfor the tab commands,agentfor the agent ones,unread,font,image,media. Related actions share aFamily: Actionname (Git: Pull,Media: Next Track), which also keeps them together in the list instead of scattered alphabetically. The same names and the same search work in the command palette (Cmd+K) and the shortcuts sheet (Cmd+/) - Click the current key binding (shows the shortcut like
⌘ KorCtrl+K) - Press your desired key combination
- The new binding is saved immediately
- Press
Escwhile recording to cancel without changing the shortcut - To unset a shortcut, click the × next to its binding, or press
Backspace/Deletewhile recording. The action shows Unassigned until you bind it again - Modifier keys alone (Cmd, Ctrl, Alt, Shift) won’t register - you need a final key
- Some shortcuts are fixed and cannot be remapped (like
Escto close modals) - A combination that another action already uses is refused, and the recorder tells you which action holds it. Clear that one first if you want the combination
Cmd+/ / Ctrl+/) have a By Key button. Click it and press a combination to see what it is bound to. It keeps listening after each press, so you can run through one key after another to explore what your keyboard already does. Press Esc or click away to stop. If nothing is bound to what you pressed, the panel says so by name rather than showing a bare “no results”.
Combinations Maestro Will Not Take
Cmd+Shift+Arrow (Ctrl+Shift+Arrow on Windows and Linux) belongs to the operating system inside a text field: it extends your selection to the top, bottom, start of the line, or end of the line. Maestro refuses to bind these, because a Maestro binding on one of them wins everywhere in the app, so you would lose select-to-end in every input and get an agent jump instead - which looks exactly like a broken text box.
The recorder refuses these with an explanation. If you had one of them bound in an earlier version, Maestro clears it on the next launch and puts that action back on its default combination, so the action keeps working. You’ll find it under its default binding in the Shortcuts tab.
Resetting shortcuts: There’s currently no “reset to default” button - if you need to restore defaults, you can find the original bindings in this documentation or delete the shortcuts from your settings file.
Changed Default Bindings
When a default binding has to move to free a combo for a new action, Maestro migrates it for you on the next launch - but only if you were still on the old default. If you had personally rebound that action, your binding is left untouched and you may need to move it yourself.
If
Opt+Cmd+F still focuses the active tab instead of opening cross-tab search, you had a custom binding on it: open Settings → Shortcuts, clear it from Focus Active Tab, and the new default takes over.
Keyboard Mastery
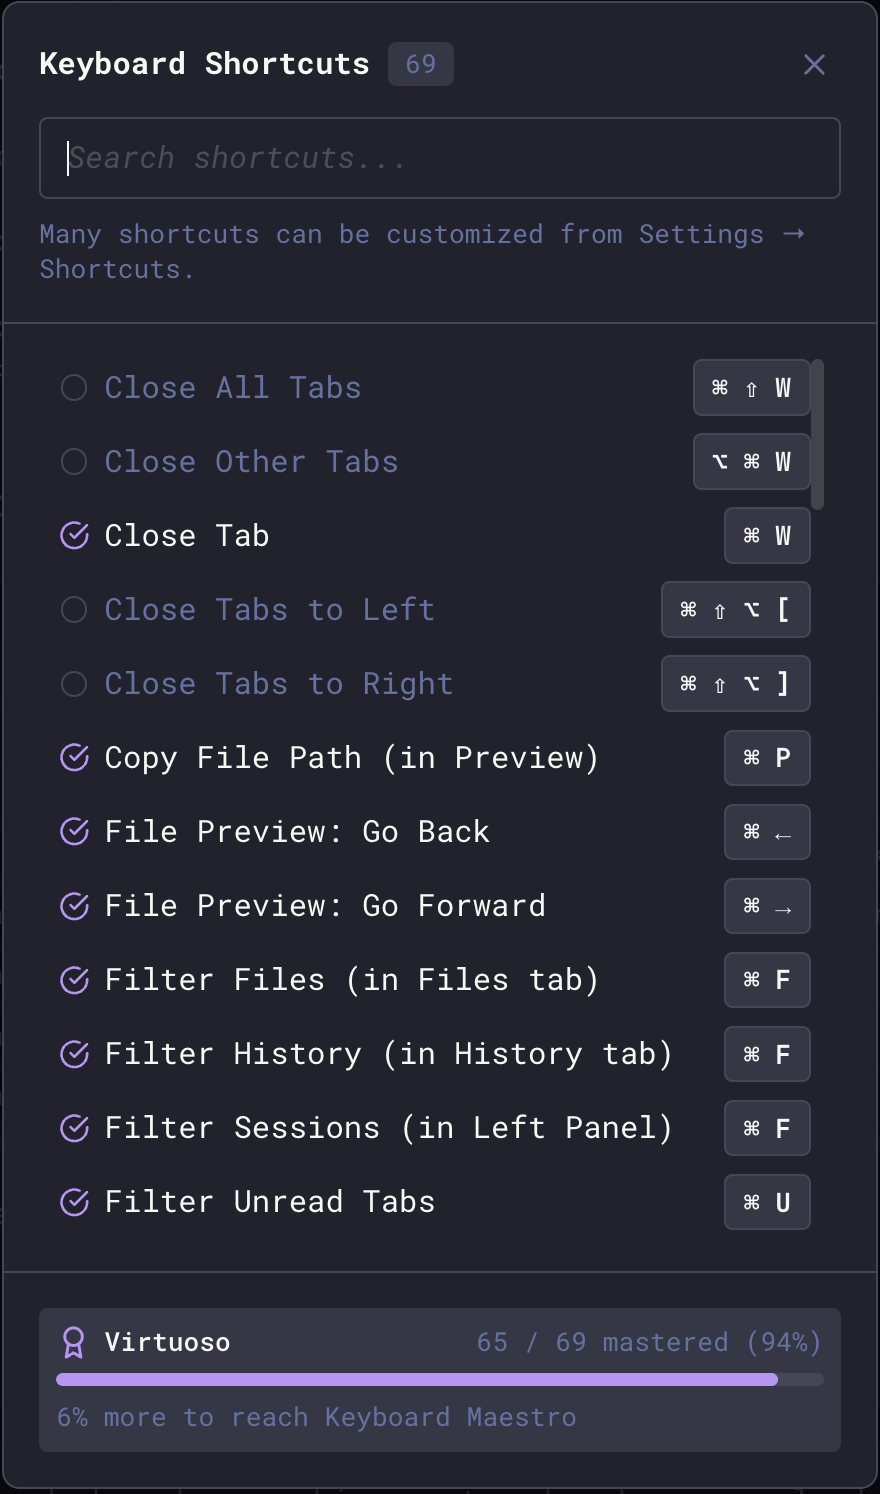
Maestro tracks your keyboard shortcut usage and rewards you for becoming a power user. As you discover and use more shortcuts, you’ll level up through 5 mastery levels:
Tracking your progress:
- Open the Shortcuts Help panel (
Cmd+//Ctrl+/) to see your mastery percentage and current level - Each shortcut displays a checkmark once you’ve used it
- A progress bar shows how many shortcuts you’ve mastered out of the total
- When you reach a new level, you’ll see a celebration with confetti